Monday, November 25, 2013

Vanilla- and Spice-Kissed Sweet Potato Puree


It's Thanksgiving time here in the U.S., and I thought I'd share with you one of my latest yummy seasonal creations.  I'm sure I'm not the first person to create their own version of sweet potato puree, but here is mine.

Growing up in my family, we always had some version of sweet potatoes as a part of our Thanksgiving celebration.  Most often, it was my mom's sweet potato casserole, which I have always loved, and with all of the cinnamon and spicy goodness that she added, it is reminiscent of pumpkin pie- yum!  While I absolutely love my mom's sweet potato casserole, its preparation requires more work than I care to invest sometimes when I just want an easy sweet potato dish that I can get on the dinner table in fairly short order.

I must admit that when I'm creating new concoctions in my kitchen, the process typically ends up being more of an art than a science.  Many times, I will add my selected ingredients to texture and taste preferences.  Therefore, I apologize to those of you who feel the need to have exact measurements to work with.   For this recipe, I have tried to estimate the quantities of ingredients that I have used before.  My advice is to start with smaller quantities of the salt, butter, and the spices and add more according to your own taste and texture preferences.  This recipe is fairly simple, so please feel free to make it your own.  Be my guest and be creative.

I've served this dish three times for guests, including my parents and my mother-in-law & father-in-law, and it was a big hit every time.

Vanilla- and Spice-Kissed Sweet Potato Puree
Ingredients
  • 3-5 lbs fresh sweet potatoes, peeled and quartered
  • 3 tablespoons real butter (grass-fed is great, if you can get it)
  • 2 teaspoons sea salt
  • 1 tablespoon ground cinnamon
  • 1 teaspoon ground ginger
  • 2 teaspoons real vanilla extract
Directions
1.  Place sweet potatoes into a large pot and fill with enough water to completely cover the potatoes.
2.  Cook the potatoes in lightly boiling water until tender.
3.  Remove the cooked potatoes from the cooking pot and place into a large mixing bowl.  Reserve the cooking water for later use.
4.  Using a mixer, beat the potatoes until smooth.
5.  Add the butter and beat until well-mixed.  Season to taste with vanilla, cinnamon, ginger, and sea salt and stir well.
6.  Add 2 tablespoons of the reserved cooking liquid to the mixture at a time and beat well until the potatoes are light and fluffy.  Alternatively, you could use milk or a milk substitute, such as coconut milk in place of the cooking liquid. 
7.  Serve and enjoy your sweet potato goodness!


Thursday, November 21, 2013

My Permaculture Herb Spiral


Our herb spiral at the peak of the growing season.

I Love Herbs! 
One of the things that I was looking forward to most once I started gardening is growing herbs.  I have been into natural health for a long time, and have used a lot of different herbs to support my own health.  I have recently begun to learn a lot about herbs, including which herbs you can use for various health conditions, and I have started to learn about how to make my own herbal remedies at home.  Just like my food, I want to take back the control of my own healthcare as much as possible.  For me, a part of that means learning as much as I can about herbs and their uses for myself and my family.  I also love to cook with fresh culinary herbs.

The Permaculture Herb Spiral
When I started learning about permaculture, one of the first books that I read was Gaia’s Garden by Toby Hemenway.  While much of the permaculture literature prior to the publishing of the book focused on larger-scale land holdings, Gaia’s Garden focuses on permaculture projects that most people can do in their own backyards.  The author includes a lot of information on doing small-scale projects in limited spaces.  The permaculture herb spiral was one example that was particularly intriguing to me.  To me, it looks really beautiful, and it's a great way to grow a lot of different herbs or other plants within a small space.

The permaculture herb spiral concept was first designed by one of the co-originators of permaculture, Bill Mollison.  As with everything else in permaculture, the herb spiral design is based upon principles found in nature, and takes advantage of the “edge effect." In nature, when two or more different ecosystems come together (such as a prairie and a forest), you have an ecological “edge,” or an “ecotone.”  The edge is where you will find the most biodiversity and ecological activity, since you have several different systems coming together in one place.  The herb spiral uses edge to create different microclimates in which plants with varying ecological requirements can grow, and the spiral pattern makes premium use of the space with which to grow plants.  You do not end up wasting valuable growing space with paths like you would in a typical herb garden.  The plants at the very top of the spiral receive the most direct sunlight and the most water drainage, so the most sun-loving, arid plant species thrive well there, such as rosemary.  At the bottom of the spiral, the wet- and shade-loving plants do the best, such as parsley.

Calendula blossoms are used medicinally for skin conditions, 
such as wounds, rashes and burns.

Herb Spiral Construction
The construction of the spiral is fairly simple (for more detailed instructions on how to build an herb spiral, check out these two links.)  Lay down some cardboard on the ground to block out weeds.  Then, lay down bricks or football- to fist-sized rocks one by one in a spiral pattern, building up vertically as you go, with the highest point in the middle.  You then fill the inside of the spiral with potting soil and some organic materials such as straw and leaves which will compost over time.  I recommend that you also add and mix in compost and other nitrogen-rich materials such as grass clippings or composted chicken manure, which will provide nutrition to your plants.  Spray down everything with water from your garden hose each time you add another layer of compostable material to kick-start the composting process with an increase in microbial activity. 

You can add a higher percentage of potting soil for additional growing medium.  Just a warning:  If you fill your spiral with mostly compostable materials, your organic material will compost down over the course of the growing season, and your plants will start to physically “sink” down as the material composts down.  This happened to me during my first growing season this year, and as the season progressed, I had to remove some of the top layers of bricks so that the plants got the proper access to sunlight as they physically sunk down.  If I had it to do over, I would have added a much larger percentage of potting soil than I did (while still maintaining a large amount of mulch and other organic materials to build quality soil, block weeds, and retain moisture) to keep things from physically sinking down so much.  We also put some wood mulch around the base of the herb spiral to help block weeds, and to make it look even more aesthetically pleasing.

The construction of an herb spiral can easily be done within an afternoon, and requires no adhesive to hold the stones or bricks together (although I believe that some people have done so).  It only took my husband and I a single afternoon to build it, and our neighbors, never having seen one before, thought it was really cool-looking.  You can plant using either seeds or starter plants.  As is the case with a vegetable garden, be sure to double-check the growing and space requirements for your plants.  

The herb spiral is especially useful for growing herbs, as the name suggests, but I have heard of people growing other plants in them as well, such as strawberries or even lettuce.  I recommend drawing out a diagram and planning where your plants will go based upon their growing requirements prior to planting.  I also recommend placing your herb spiral near the location of your kitchen, so that it is convenient to run outside and harvest your tasty herbs or potent herbal remedies right near where you will be using them.

Our Experience 
We were able to grow quite a lot of different herbs, and were fairly successfully at that.  My absolute favorite was our sweet basil plant, which I made some tasty basil lemonade and dairy-free pesto sauce with.  After experiencing my own home-grown fresh basil, I have vowed to grow my own basil for the rest of my life.  Fresh basil is so expensive at the store, and it is therefore more than worth it to grow your own from home.  

We also grew sage, oregano, thyme, three other varieties of basil, calendula, parsley, German chamomile, catnip (It’s not just for cats, but people too!), caraway, cilantro, and lemongrass (also one of my favorites for both cooking and herbal medicine).  I have transplanted a number of these herbs into pots and am hoping to overwinter them inside my house for replanting into our herb spiral next spring.  At the end of the season, I added some straw, organic fertilizer, and compost that we had left over from our gardening activities this season.   This will add some fresh organic matter to feed the soil in the spiral and prepare it for next year's growing season.


What are your favorite herbs to grow and use?

Straw, organic fertilizer,  and some organic compost added to the growing medium within 
the spiral will provide a great growing environment for my herb plants next year.  The two remaining plants 
shown in the spiral are catnip and calendula, which I chose not to overwinter indoors.

Friday, November 15, 2013

My Straw Bale Garden (Part II)

(For My Straw Bale Garden (Part I), please read last week's post)

Kale (center), grown in our straw bale garden, end of summer.

My experience with growing a straw bale garden

I found straw bale gardening to be a fairly productive method of growing a garden.  Although the two-week prep time at the beginning of the season required a lot of initial work, most of the remainder of the growing season was fairly low-maintenance.  The vast majority of the work involved was monitoring for insect pests, watering, harvesting, and of course, eating!  Due to the lower maintenance, I feel that Straw Bale gardening is an especially good way to grow a garden when you are a new gardener.   It is a nice way to grow some things without having to worry much about soil quality since straw bales allow you to start with a clean and uncontaminated growing medium without weed seeds.  It is also a great way for elderly or disabled people to garden, since it provides the same height advantage of a raised bed garden, and avoids the need to excessively bend over to tend to the garden.  

Despite the heavy rains that we received during the spring, we were able to have a fairly successful garden and get a much earlier start than many of our neighbors.  This was because straw bales are great at draining excess water, and thereby avoids many of the problems associated with flooding due to an overabundance of rain.  Many other gardeners in my area were experiencing flooding and had a tough time getting off on the right foot for the season.  

Please note that you need to use straw bales, not hay bales.  Hay is what farmers feed to their livestock, and it contains seeds that provide the necessary nutrition for these animals.  Straw is what farmers often use for their animals’ bedding.  It should ideally contain no seeds.  You want to use straw for your straw bale garden, as this will eliminate seeds from becoming a source of weeds for your garden.  Unfortunately, the straw bales that we purchased from a local garden center did have some seeds remaining, and I found myself weeding a few of these plants as they came up during the season.  Be diligent and ensure to the best of your ability that your straw bales do not contain seeds.

Garden Productivity

Potted plants, such as the peppermint, spearmint, ginger, and
lemon balm plants shown here, allowed for even
greater productivity in our garden.

We were able to grow quite few vegetable plants in a fairly small space.  In our eight-bale straw garden, we grew cucumbers, zucchini, bell peppers, broccoli, four cabbages, bok choi, kale, rainbow chard, tomatillos, jalapeños, two heirloom tomato plants, celeric, basil, a few carrots, radishes, beets, and red kidney beans.  Because straw bales allow you to grow things in the sides of the bales as well as on the top, this added to our total available growing space.   In addition, I grew some plants in pots within the fenced in garden area, including peppermint, spearmint, lemon balm, lavender, and an additional heirloom tomato plant.  The trellis wires that we added to the support poles of the straw bale garden were an especially helpful feature for vining plants such as cucumbers, or plants that needed extra support like tomatoes. 

Due to the many resident rabbits that seem to thrive especially well in our neighborhood, I wrapped some wire and plastic cloth around the metal support poles and the outside of the bales to form a makeshift fence, securing it in place with bendable heavy duty garden wire.  This was quite successful in keeping out rabbits, but apparently was not very successful in keeping out all of our neighborhood squirrels, as my next story will explain. 

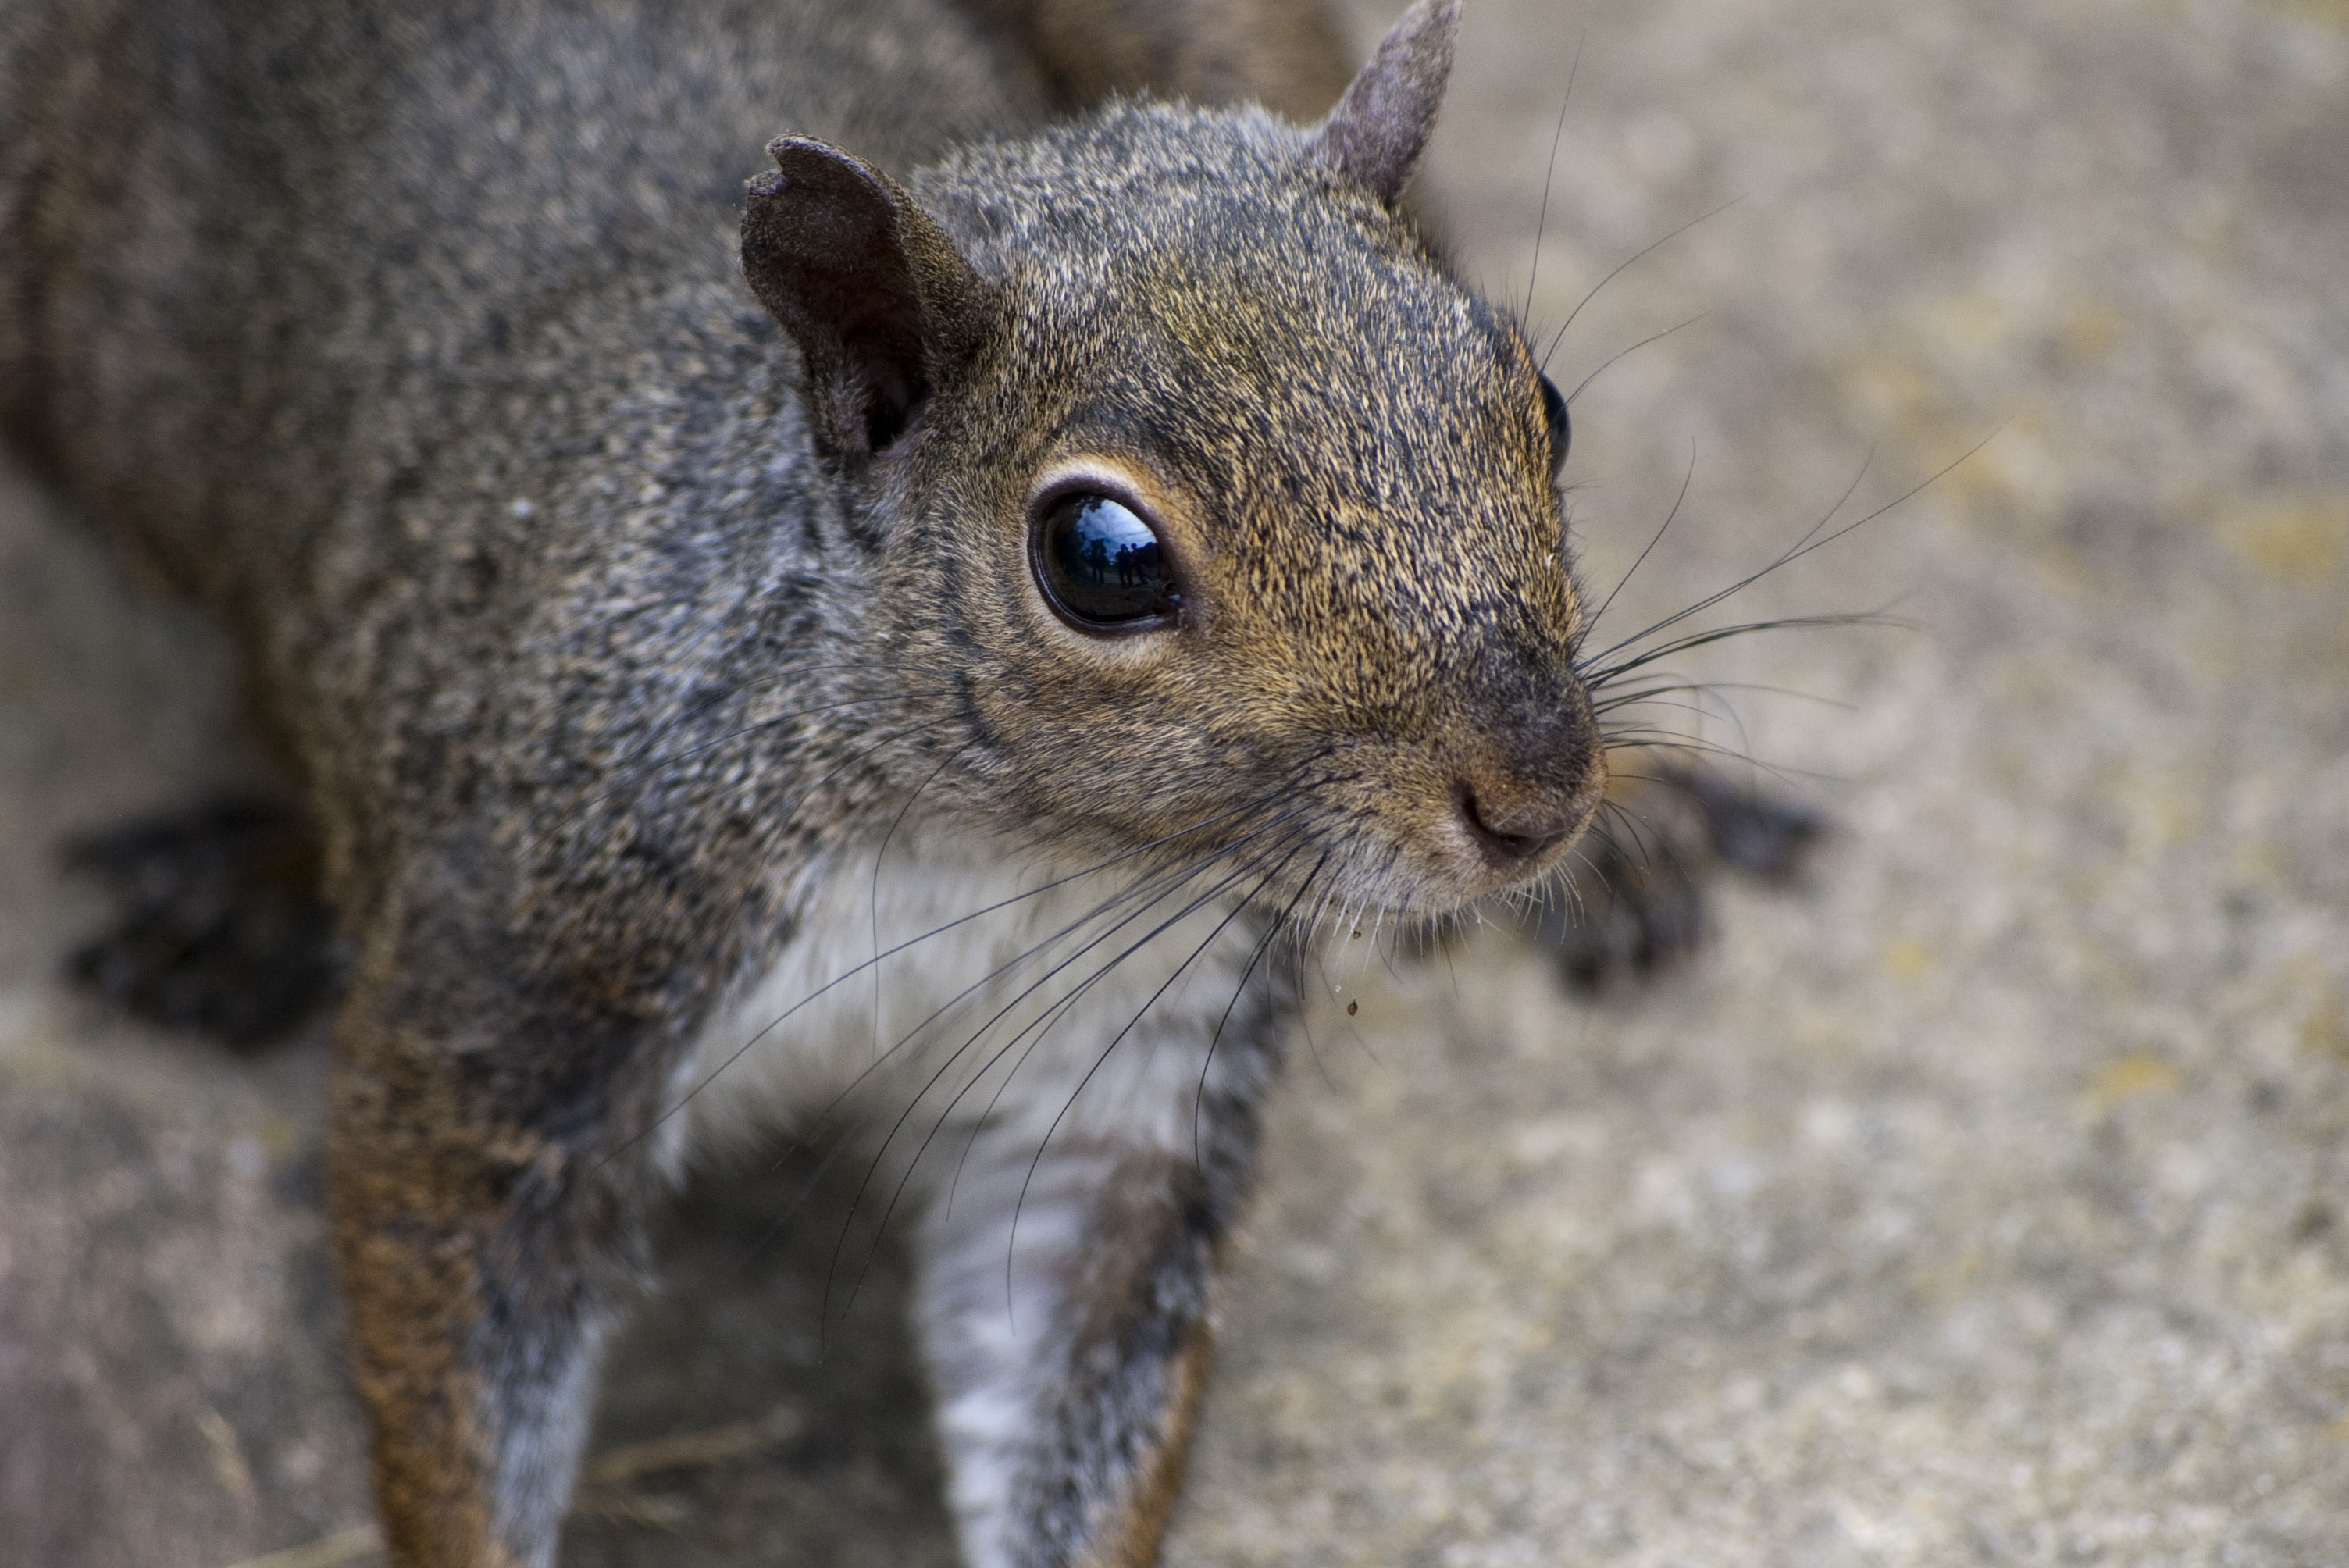
My "Squirrelly" Story

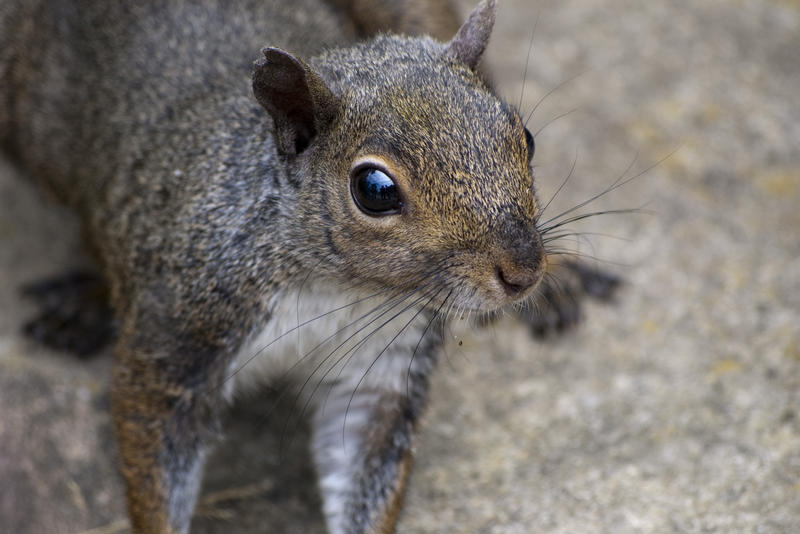
image by <a href="http://www.freeimageslive.co.uk/free_stock_image/
squirreljpg-0" target="_blank">freeimageslive.co.uk - fmanto</a>

For a couple of weeks during the summer, I noticed that our sweet potato plant that I had planted in a large tall pot was getting the daylights eaten out of it.  I couldn’t figure out what was eating it.  At first, I blamed rabbits, but thought that the pot was too tall for any rabbit to reach.  Out of fear that the entire plant would be decimated, I decided to move the pot within the gated community of our fenced in straw bale garden area.  Then one day, I caught the culprit red-pawed (or rather, "gray-pawed").  

Early one Saturday morning, I looked out of our kitchen window at our garden and noticed a Gray Squirrel climb up the fenced side of one of the bales, into our straw bale garden area, and then proceeded to sit on top of the pot that housed our sweet potato plant and chow down on the sweet potato vines and leaves.  I knocked on the kitchen window and yelled at it in an effort to startle the squirrel and frighten it away.  Unfazed, the squirrel continued it’s ravenous eating of our sweet potato plant vines.  I then ran outside, dressed in a coat and my pajamas and yelled at the varmint, in the process giving my next-door neighbor a show and a chuckle.  Startled, it ran off, leaving the injured plant alone.  From that moment forward, I was on squirrel patrol.  I don’t think that it bothered the plant much after that, but it’s possible that it snacked on a few leaves when I wasn’t at home.  The plant seemed to recover fairly well after that, but I’ve yet to check to see if we’ve gotten many sweet potatoes in the pot.  Stay tuned; I’ll let you know.


A Few Lessons Learned

Our extremely prolific cucumber vines (front) growing on
the trellising wires and the wooden support beam
of our straw bale garden.

Since this was my first season gardening, I must admit that my overzealousness to plant as much as possible within the available space led to some overcrowding and shading of certain plants, and therefore, smaller vegetables in some cases.  The need to follow sun and growing space requirements may seem like an obvious necessity, but at times the excitement of gardening (as was the case for me during my first growing season) may entice you to push the limits that plants can grow in.  I have learned that sometimes, crowding plants may work and you will still be successful, but sometimes you won’t be- your success will depend upon a multitude of factors, including the plant variety, the quality of your soil or growing medium, and the environmental conditions.    

During the preparation of the bales in the spring, we received a lot of rain, and many mushrooms grew out of the bales.  According to Joel Karsten's Straw Bale Gardening book, the sight of mushrooms is actually a good sign that the organic matter is breaking down within the bales and that things are going well with the preparation for growing.  Unfortunately, with the mushrooms also came a particular odor that was somewhat offensive to our neighbors on one side of us.  Although we were aware of this possibility, and we warned our neighbors ahead of time that there might be some odors temporarily, they were less than thrilled about the smell of the mushrooms wafting over to their driveway and backyard.  This was, of course, not the best way to keep good relations going with our new neighbors.  

To try to make amends, I apologized profusely, and on a daily basis cut down the mushrooms with a trowel.  This seemed to help a lot, and soon the odor dissipated significantly.  Throughout the season, I also would give my neighbors a share of the produce that I was growing to show signs of good will.  The lesson learned here:  There can be a temporary odor associated with the preparation of the bales, and you many wish to seriously consider how this may impact your neighbors around you.  Plan for this possibility, warn them about the odor, and take some actions to cut down on the mushrooms if the odor is persistent for a longer period of time.  Because I live in a more urbanized area, my straw bale garden was practically right next to my neighbor’s driveway (we do have some bushes between the two properties, but this apparently wasn’t sufficient to restrain the odors), so this made things interesting to say the least.  You may wish to consider the placement of your straw bale garden to reduce potential conflicts with neighbors. 


One of our heirloom tomato plants, mid-ripening.

Eventually after the air cleared, our next-door neighbors really did find our straw bale garden, as well as our herb spiral (which I will discuss in a future post), to be very interesting.  Our unique garden gained the attention of numerous neighbors on our street, and I had a number of curious onlookers come over and check out the garden.  Our unconventional gardening ways were a great icebreaker in our new neighborhood and helped us to build some valuable relationships with those around us.  In fact, at least one of our neighbors has purchased the Straw Bale Gardens book, and intends to try it next year in their own yard.  Our next-door neighbor’s son also wants to try Straw Bale Gardening when he moves down to Arizona!

End of Season Thoughts

End of season cleanup, with several kale plants remaining and the once bale-covered, 
bare soil revealed.  The landscape fabric has been removed, and the straw bales have composted down
(seen along the sides of the garden area).  The straw-based compost will provide excellent
organic material for next year's permaculture mandala style garden.

Since it is now fall and getting progressively colder, I have harvested nearly everything (except our kale, which is very tolerant of colder conditions), and have taken down the straw bales, along with the landscape fabric that we laid down underneath the bales prior to starting the garden.  I found the landscape fabric to be a fairly successful barrier to weeds underneath the garden, although a few rogue weeds still poked through the fabric, which I promptly removed.  In place of the landscape fabric, I have put down cardboard from boxes that were left over from our move.  This cardboard will continue to block weeds next year and will eventually compost down and make the worms in the soil happy.  

Broken down cardboard boxes with plastic labels and staples
removed will provide a great weed barrier underneath multiple layers
of mulch that will nourish the soil for next year's garden.

On top of the cardboard, I have spread the partially composted straw left over from the bales, added some purchased compost and organic fertilizer for added nitrogen-rich materials, and will be adding some autumn leaves from the trees on our property.  These materials will add important organic matter to the soil and help to prepare the soil for our next garden season in the spring.  I have taken a soil sample from the garden area and will have it analyzed by our local university’s Extension Service for various nutrients and lead (we live on the outskirts of an urban area, so lead in the soil is something to be potentially concerned about).  If contaminants are an issue, we will plan for a raised bed style of gardening next year, if necessary.

Although I had a great experience with growing a straw bale garden this year, I am a scientist at heart and enjoy experimenting with different gardening styles.  My garden plans for next year are to try a mandala-style, sheet-mulched, permaculture garden since we’ve now had a chance to get to know our property a bit.  My husband and I would also like to add some edible perennials to our landscape, such as a couple of fruit trees.  In the meantime, we are currently resting in the joy of our harvest, and a successful first growing season.  We are excited to see what we can grow next year.  Pumpkins, perhaps?  


Pictures From Our Straw Bale Garden

Our two potted lavender plants.
The excellent compost from the straw bales
that was produced by the end of the season.
Green bell peppers, secured to one of the straw
bale garden support posts.
Some organic fertilizer and compost with manure left over 
from the growing season, which add some nitrogen to the carbon-rich 
composted straw bales.  Great mulch for next year's garden soil!

Our huge green tomatillo plant that nearly took over one 
side of our garden.
  
One of our tasty cucumbers!

One of our four cabbages that grew in a single bale.

Composted straw from the bales, spread out to be used as mulch for next year's growing season.


Thursday, November 7, 2013

My Straw Bale Garden (Part I)


Cucumber Vines from Our Garden

This was a big year for my husband and I.  We moved into our first house in the spring, did some remodeling, and almost as soon as I could, I started my first garden.  I had wanted to have a garden for several years, but until this year we were essentially like nomads, in transition due to job changes and we had no permanent place to “put down roots.”

I wanted to garden for many reasons, among them frugality, quality organic produce, nutrition, and taking back at least some of the power behind what my family and I eat.  The more I learn about the craziness of the current food system in our world today, the more attractive growing my own food becomes.  I no longer wanted to be ingesting tasteless produce, grown thousands of miles away that was doused with who knows what chemicals, and had its entire genetic code altered by some lab somewhere.  It’s getting really scary out there in our food system folks!

I wanted to start growing my own food but I had never, and I mean never, gardened before.  When I was growing up, my mother had always grown tomato plants and every now and then some strawberries that she grew from starter plants, but I had much, much bigger plans.  I tell you, inside me beats the heart of a farmer, even though I grew up in the city.  There is something primal about this that I can’t quite explain, but it resonates within my very soul.  Once I reconnected to this primal urge to grow and tend to living things, I knew that this is what I needed to be doing, even if it required time and energy.  I knew that it would be well worth it. 

I think that for many of us, we are rediscovering these primal agricultural roots.  Growing something and being a part of nature is what we were born to do.  Our culture that we have all grown up in within our modern world has convinced us that we are somehow separate from this call, and we just need to have “those people over there” do our growing for us.  Well, we have all seen the mess that giving up our food sovereignty has done to us within the last few generations.  The degradation of the land that we depend on and our very own health have paid the price for this delegation of responsibility to grow and to obtain our food.  I made a decision that I was going to take at least a part of that responsibility back, and I would know what I was eating, where it came from, and how it was grown.  My long-term goals are to grow as much as I can myself, and to eventually seek out as many local food resources as I can that I have established a relationship with and know how they were produced.  Right now, I am in the beginning stage with learning how to garden and to preserve at least some of my own food.  The rest will come later, but at least I’ve started to do something.  You can start doing the same thing, beginning with TODAY.

Since my background is in environmental science, ecology, and sustainability, there was no question in my mind that the garden would be as organic and ecologically-based as possible.  I had learned a lot about the importance of soil ecology in school, and the Permaculture Design Course that I took last summer provided me with a great foundation of ecological principles to get things started off on the right foot.

There was one big problem, however.  We had just moved into our house and didn’t really know the property very well.  We purchased our home when there was still snow on the ground, and we had no clue as to what the soil was like or if it contained any contaminants.  We also had not had many opportunities to observe the property (outside of checking satellite images on Google Earth) to determine where sunny and shady places were during different seasons of the year, where wind occurred, or where water collected.  This made it challenging in this first season to figure out where the most ideal spots would be to place more permanent plantings.  Then, I discovered Straw Bale Gardening.

I had first learned about Straw Bale Gardening on the Growing Your Grub podcast, when the host of the show interviewed the inventor of the Straw Bale method of gardening, Joel Karsten.  Joel praised how growing plants in straw bales is a particularly productive way to grow a garden, and there is very little weeding to do.  Intrigued by this idea, and upon discovering that this Joel Karsten fellow was giving a free seminar on Straw Bale Gardening at a local garden store near where I lived, I decided to attend his talk and learn more about it.

In his hour-long talk, Joel demonstrated how to grow a straw bale garden, how to set it up and prepare the bales to grow vegetable plants in it, and how to maintain it.  Joel’s book, Straw Bale Gardens, leads you step-by-step in how to grow a straw bale style garden, from prepping the bales, to incorporating growing space for specific types of plants, to maintaining the system, and harvesting.  The preparation of the bales for growing takes about two weeks, and requires the addition of nitrogen-rich materials, such as composted chicken manure, and watering the bales on a daily basis.

Two of the biggest advantages of growing a straw bale garden is that you can grow one just about anywhere (even on roof tops where there is no soil at all), and there is very little weeding required, which is one of the greatest time-consuming activities in traditional-style gardening.  You can also set up a soaker hose (a hose that will drip-irrigate your plants) on a timer in your system, which reduces your work even further.  In the end, you will have extremely rich compost, as the straw and the other organic materials decompose over the course of the growing season.

My Straw Bale Garden at the Peak of the Season
(the mylar ribbons serve as bird deterrents)


My Experience with Growing a Straw Bale Garden and Lessons Learned Coming Next Week….